Merch Table
Every brand ends up on merch: a mug, a pennant, a tote. Today the whole class takes finished sticker art and puts it on a 3D mug in Illustrator, then renders it and exports a product mockup. The mug body and handle are already built for you. You place the sticker art, add it as a graphic, wrap it onto the mug, shrink it to fit, switch on Ray Tracing, and export. If you finish early, a bonus bends a slogan onto a pennant.
Shortcuts are written Windows / Mac. Example: Ctrl+G / Cmd+G. On a Mac, Option is the key some Windows lists call Alt.
We build together. Follow along step by step. When you finish a step early, wait at the check line or try the bonus at the bottom.
What you turn in
- Midpoint (Step 6):
LastName_MerchMug.jpg: a JPEG of the starter mug with the sticker art wrapped on it. - Final (Step 8, or after the bonus):
LastName_MerchTable.jpg: a JPEG of your recolored mug with the sticker art wrapped on it. If you reach the bonus, you may also turn inLastName_Pennant.jpg. Keep your.aifiles for yourself. Do not upload them.
Downloads
MerchTable_StudentFiles.zip: the one file for today. Unzip it before Step 1.MerchTable_Mug_Starter.ai: inside the zip. The mug, already built in 3D.MerchTable_Sticker_Art.svg: inside the zip. The sticker art you wrap on the mug.MerchTable_Pennant_Mockup.svg: inside the zip. For the bonus only.MerchTable_Swatches.ase: inside the zip, in the Palette folder. Four colors for recoloring.
What we build today
You work on one small mug document for the core steps. The pennant bonus is its own document.
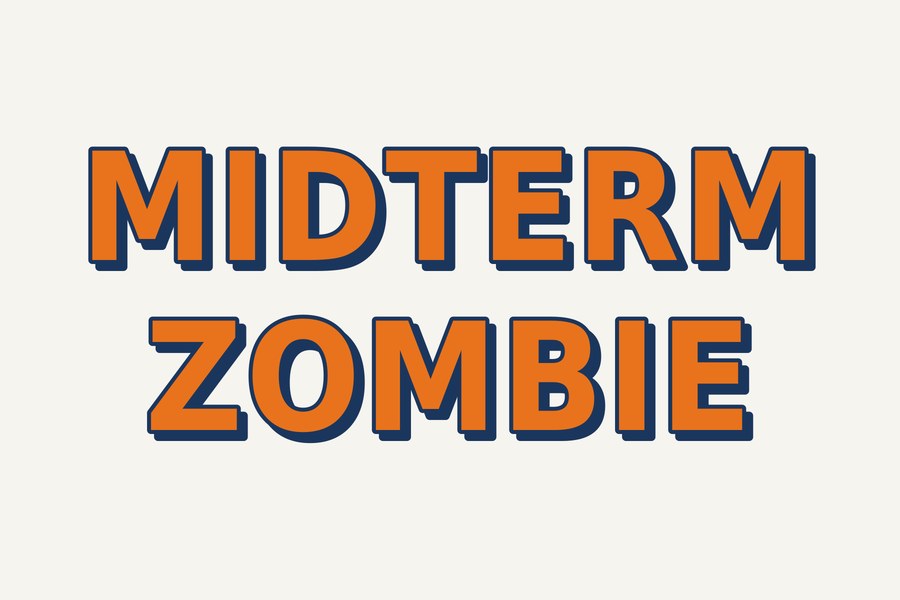
The sticker art
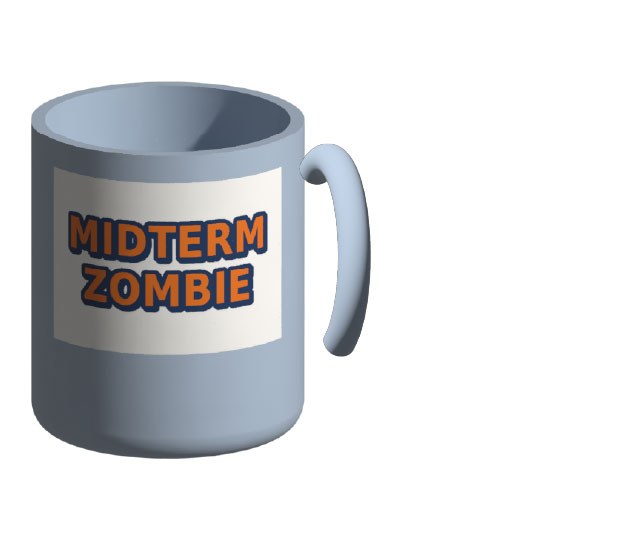
The 3D mug
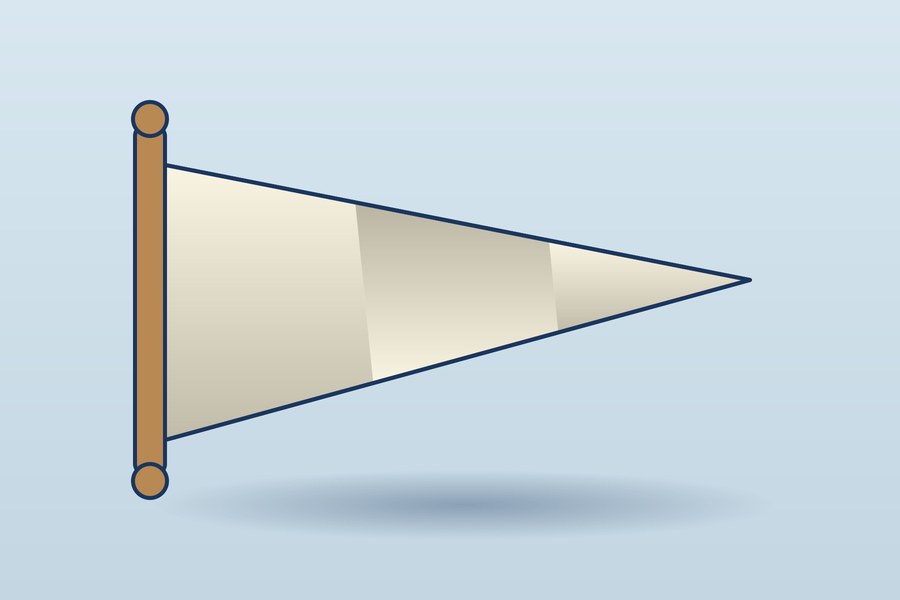
The pennant (bonus)
What your files should look like
The mug is a real Illustrator export. The pennant example was drawn by a script to show the target look. It is an approximation, not an Illustrator file.
Midpoint and final example
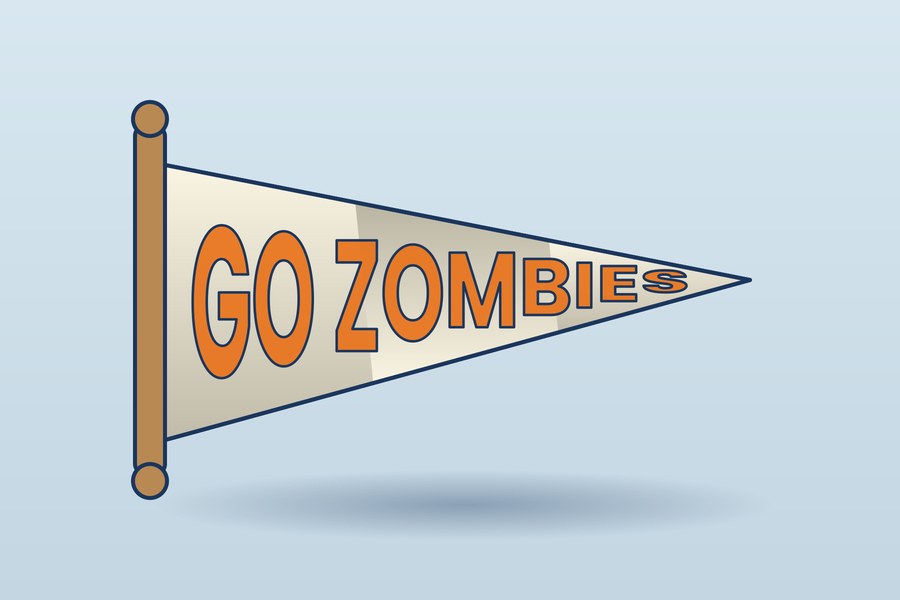
Bonus pennant example
The class palette
The starter mug is Ceramic. In Step 7 you recolor it. To recolor, select the mug, double-click the Fill box at the bottom of the toolbar, type the hex code, and click OK. Pick Mug Navy, Mug Orange, or Mug Green.
| Swatch | Name | Hex | Used on |
|---|---|---|---|
| Ceramic | #A9B8C9 | The starter mug color | |
| Mug Navy | #1B365D | Step 7: recolor the mug | |
| Mug Orange | #E8731C | Step 7: recolor the mug (optional) | |
| Mug Green | #2F9E44 | Step 7: recolor the mug (optional) |
Quick refresher: Photoshop to Illustrator
You have mocked up products in Photoshop. Here is how today's ideas map over.
| Photoshop | Illustrator |
|---|---|
| Smart Object mockup with a Place Embedded layer | Place the sticker art, add it as a graphic in 3D and Materials, then click it onto the mug. The mug stays 3D and live. |
| Free Transform to fit the label | The circle widget on the mug. Drag a handle toward the center to make the label smaller. |
| Lighting and Smart Filters | Ray Tracing in the 3D and Materials panel. It adds real highlights and shadows. |
| Link versus Embed (Place) | Place has a Link checkbox. Leave it unchecked today. A linked image cannot be wrapped onto 3D, and a moved file breaks the link. |
| Locking a background layer | Lock a layer in the Layers panel so the mockup does not move while you draw on a new layer above it. |
| Warp and Layer Mask | Envelope Distort (Object menu) bends art into a shape. A Transparency opacity mask hides parts of it. |
Class plan
| Start | Minutes | What | How |
|---|---|---|---|
| 0:00 | 3 | Opening: a mug without a camera | Demo |
| 0:03 | 6 | Step 1: Open the mug and save | Do along |
| 0:09 | 8 | Step 2: Place the sticker art | Do along |
| 0:17 | 8 | Step 3: Add it as a single graphic | Do along |
| 0:25 | 8 | Step 4: Wrap it on the mug and shrink it | Do along |
| 0:33 | 6 | Step 5: Render with Ray Tracing | Do along |
| 0:39 | 3 | Step 6: Midpoint turn-in | Gate |
| 0:42 | 9 | Step 7: Recolor the mug | Do along |
| 0:51 | 7 | Step 8: Final export | Turn-in |
| 0:58 | Core ends. Midpoint and final turned in. | ||
| 0:58 | 8 | Step 9: Bonus pennant, set up and draw the shape | Bonus, ahead students only |
| 1:06 | Bonus ends. Optional steps. | ||
Steps
Open the mug and save
about 6 min- Unzip
MerchTable_StudentFiles.zip. In Illustrator choose (Ctrl+O / Cmd+O), go to the unzipped folder, and openMerchTable_Mug_Starter.ai. A mug appears on a white artboard. - Choose . Set the format to Adobe Illustrator (ai). Name the file
LastName_MerchMug.aiand click Save. Click OK in the options box. Do this before anything else so you never change the starter. - Open the 3D panel with . Leave it open on the right. If panels cover the artboard, close the ones you do not need with their X.
- Click the mug with the black arrow (the Selection tool,
V). The 3D panel shows the mug's settings. Press Ctrl+Shift+A / Cmd+Shift+A to deselect.
LastName_MerchMug.ai, the mug is on the artboard, and the 3D and Materials panel is open.If not: If the mug looks flat or missing, you opened a different file. Close it and open the starter again. If the 3D panel is greyed out, click the mug with the black arrow.
- Save As first. The starter file stays clean for the next student.
- Close extra floating panels. They cover the mug.
Place the sticker art
about 8 min- Choose (Ctrl+Shift+P / Cmd+Shift+P). Go to the unzipped folder and click
MerchTable_Sticker_Art.svg. Make sure Link is unchecked at the bottom of the dialog, then click Place. - Click once on the artboard. The sticker art drops in at its natural size, which is far bigger than the mug. That is expected.
- With the art selected, open the Properties panel. Click the Width box, type
450, press Tab, and check that Height reads300. If the lock between the boxes is off, click it and type again. Press Enter. - With the art selected, type
310in X and270in Y in the Properties panel, pressing Enter after each. This puts the art in the middle of the artboard, over the mug, where you can see it. After the resize it can land off the artboard. Its exact spot does not matter: you delete it in Step 3.
If not: If the art covers the whole artboard, you skipped the resize. Select it and set Width to 450. If the control bar says Linked File, undo, place again with Link unchecked.
- The Link checkbox remembers its last setting. Check it every time.
- An SVG places as an editable group. No Embed button is needed.
Add it as a single graphic
about 8 min- Make sure the sticker art is still selected (click it with the black arrow if needed).
- In the 3D and Materials panel, click the Materials tab at the top. Then click the Graphics sub-tab (next to Materials).
- Click the plus button in the Graphics area. Choose Add as Single Graphic.
- A thumbnail of your sticker art appears in the panel under Your Graphics. It is a copy: changing the art later does not update it.
- Click the sticker art on the artboard and press Delete to remove it from the artboard. The thumbnail stays in the panel.
If not: If there is no thumbnail, nothing was selected when you clicked plus. Select the art, click plus again. If the plus menu does not offer Add as Single Graphic, the art is a linked image: delete it, place it again with Link off.
- The graphic is a snapshot. To change the art, edit it, then add it again.
- Select the art before you click plus.
Wrap it on the mug and shrink it
about 8 min- Click the mug body with the black arrow. Click the round body, not the handle. The 3D and Materials panel shows the mug's settings.
- In the Materials tab, Graphics sub-tab, click your thumbnail. The sticker art wraps onto the mug body, much too big.
- A blue circle appears on the mug with four small white squares on it. Drag one of those squares toward the center of the circle to shrink the art. Stop when the label sits comfortably on the front of the mug. Dragging inside the smaller blue box moves the art instead of shrinking it.
- Drag the art itself (not a handle) to move it up or down on the mug if needed.
If not: If the label is huge and unreadable, drag a handle toward the center until it fits. If the handle got grabbed instead of the body, click the body of the mug first. If nothing happens, the mug body is not selected.
- Click the body, not the handle.
- Drag a handle toward the center. Dragging outward makes it bigger.
Render with Ray Tracing
about 6 min- Select the mug body with the black arrow. In the 3D and Materials panel, find the Ray Tracing switch: the icon at the top right of the panel.
- Click the Ray Tracing switch to turn it on. The mug re-renders with real highlights and soft shadows. This takes a few seconds.
- If you want, set the render Quality to Low in the panel's render settings so it finishes quickly.
- Wait until the image stops updating before you export.
If not: If the picture looks grainy, wait a few more seconds. If your computer is slow, set Quality to Low. If the mug looks flat, the Ray Tracing switch is off.
- The first render takes a few seconds on the lab machines.
- Do not click around while it renders.
Midpoint turn-in
about 3 minturn-in- Choose . Set the format to JPEG. Name the file
LastName_MerchMug.jpg. Check Use Artboards. Click Export. - In the JPEG Options box, set Quality to High and Color Model to RGB. Click OK.
- Upload
LastName_MerchMug.jpgto Canvas under the midpoint assignment.
LastName_MerchMug.jpg shows the mug with the label wrapped on it.If not: If the file is blank, Use Artboards was off or the mug is off the artboard. If the dialog opened in a different folder, check where you are saving before you click Export.
- Name the file with your last name first.
- The dialog opens in the last folder you used. Check it before you click Export.
Recolor the mug
about 9 min- Click the mug body with the black arrow.
- Double-click the Fill box at the bottom of the toolbar (the large square). The Color Picker opens.
- Click in the hex field (the box with a # sign), type
1B365Dfor Mug Navy, press Tab, and click OK. The mug body changes color live and the label stays. - Click the handle with the black arrow and give it the same color the same way.
- Try one more color if you like (Mug Orange
E8731Cor Mug Green2F9E44). Pick the one you like best for your final. - Wait for Ray Tracing to settle again.
If not: If only the body changed, select the handle and do the same. If the label disappeared, you may have clicked the sticker graphic or changed the wrong object. Undo and click the mug body again. If the new color looks very dark, it is the lighting, which is normal.
- Select the mug body before you open the Color Picker.
- The label color does not change. It is a graphic.
Final export
about 7 minturn-in- Check that the mug is on the artboard and the label is readable. Wait for Ray Tracing to finish.
- Choose . Set the format to JPEG. Name the file
LastName_MerchTable.jpg. Check Use Artboards. Click Export. Set Quality to High and Color Model to RGB. Click OK. - Upload
LastName_MerchTable.jpgto Canvas. Keep yourLastName_MerchMug.aifile. Do not upload it. - If you are ahead, continue to the bonus. Otherwise save your
.aiwith Ctrl+S / Cmd+S and you are done.
LastName_MerchTable.jpg shows your recolored mug with the sticker art on it.If not: If the colors look different from the screen, the export used the render. If the file is blank, Use Artboards was off. If the label is cut off at the edge, move it on the mug and export again.
- File name starts with your last name.
- Do not upload the .ai.
Bonus pennant: set up and draw the shape
about 8 minbonus- Choose . Set Width
1800, Height1200, Pixels, RGB. Click Create. Choose and save it asLastName_Pennant.ai. - Choose . Pick
MerchTable_Pennant_Mockup.svg. Link unchecked. Click the top left corner of the artboard. - Open the Layers panel with
F7. Click the lock column (right of the eye icon) next to Layer 1. The mockup is now locked and cannot move. - Click the New Layer button at the bottom right of the Layers panel (the plus icon). Make sure the new layer is selected.
- Press
Pfor the Pen tool. Click the three corners of the pennant in turn, then click the first point again to close the shape. This is your Top Object.
If not: If the mockup moves when you click, the layer is not locked. Click the lock column again. If the triangle does not close, click exactly on the first point. If you clicked the Make Clipping Mask button by mistake, undo.
- Lock the mockup first. Otherwise you will drag it by accident.
- Close the triangle by clicking the first point.
Final checklist
- My mug is on one small artboard and the sticker art is wrapped on its front.
- The label is readable and not cut off.
- I recolored the mug body and the handle.
- I waited for the render to finish before I exported.
- I exported with Use Artboards and the file name starts with my last name.
- I uploaded the JPEGs, not the .ai files.
Optional steps
Finished early? Do these in any order.
Bend a slogan into the pennant
about 9 min- Press
T. Click once on the empty wall area on your new layer and typeGO ZOMBIES. Click the black arrow to leave. Set a heavy font such as Arial Black and an orange fill. - Choose (Ctrl+Shift+[ / Cmd+Shift+[) so the triangle sits on top of the text.
- Press Ctrl+A / Cmd+A to select the text and triangle (the locked layer is skipped). Choose . The slogan fills the pennant shape.
- To change the color, choose , click the text, change its fill, then choose Object > Envelope Distort > Edit Envelope.
- Open the Transparency panel (Ctrl+Shift+F10 / Cmd+Shift+F10) and set the blend mode to Multiply. The fold shading in the pennant shows through the slogan.
- Export as
LastName_Pennant.jpgthe same way as Step 8.
Home practice: hide part of the slogan with an opacity mask
- Draw a white rectangle on top of part of the slogan.
- Select the slogan and the rectangle together. In the Transparency panel, click Make Mask. The slogan shows only where the white shape sits.
- If you want the reverse, click Invert Mask and uncheck Clip. With Clip checked, Invert Mask hides everything.
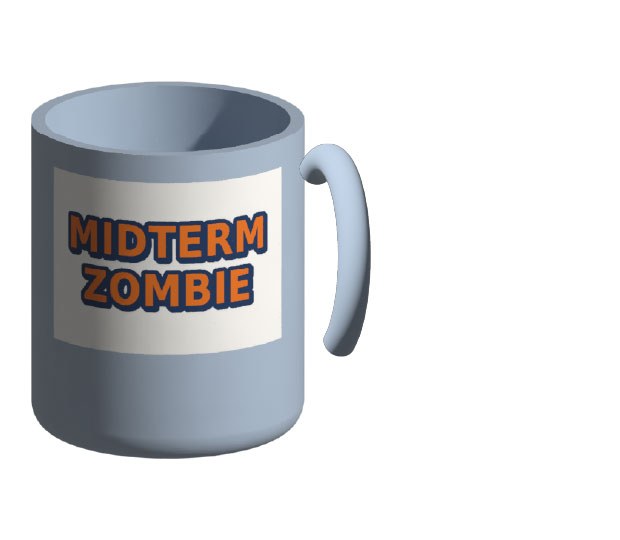
The reference image is a real Illustrator export of the finished mug with the supplied sticker art wrapped on it (Ray Tracing on). Your mug color can differ.
Troubleshooting
| Problem | Fix |
|---|---|
| The sticker art covers the whole artboard. | Mapped and placed art lands at natural size. Select the art and set Width to 450 in Properties, or shrink the wrapped label with the circle widget. |
| Add as Single Graphic is missing or does nothing. | Nothing is selected, or the art is a linked image. Select the art. If it is linked, delete it and place it again with Link unchecked. |
| Clicking the thumbnail does nothing. | The mug body is not selected. Click the round body of the mug, not the handle, then click the thumbnail. |
| The label is huge on the mug. | Drag one circle widget handle toward the center to shrink it. |
| The label is too small. | Drag a handle outward a little. |
| I cannot find the Ray Tracing switch. | It is the icon at the top right of the 3D and Materials panel. Select the mug first. |
| The mug looks grainy. | Ray Tracing is still working. Wait a few seconds. |
| The render is very slow. | Set Quality to Low in the render settings, or skip Ray Tracing and export the real-time preview. |
| Only the body changed color. | The handle is a separate object. Select it and change its fill the same way. |
| The export is blank or cropped. | Check Use Artboards, and check that the mug sits inside the artboard. |
| The export is in the wrong folder. | The dialog opens in the last folder you used. Look for the file there, or export again and choose the folder first. |
| The mockup moves when I draw. | Lock its layer: click the lock column in the Layers panel. |
What this project was actually about
In earlier sessions you drew flat shapes and type. Today the same artwork goes onto a 3D product. The mug and the Ray Tracing render are how a brand shows a client what the merch will look like before anything is printed. Next week the capstone uses this same flow for a can: you design a label, wrap it, render it, and export a mockup.
Tools used
- File > Open, Save As (.ai)
- Place (Link unchecked) and Properties width and height
- 3D and Materials panel: Materials tab, Graphics sub-tab, Add as Single Graphic
- Selecting the 3D object, clicking a graphic onto it, the circle widget to scale
- Ray Tracing
- Double-click the Fill box to recolor a 3D object
- Export As JPEG with Use Artboards
- Bonus: Layers panel lock, Pen tool, Envelope Distort with Top Object, Edit Contents, Multiply, opacity mask